typora语法、主题魔改及hexo渲染时注意事项
效果演示:
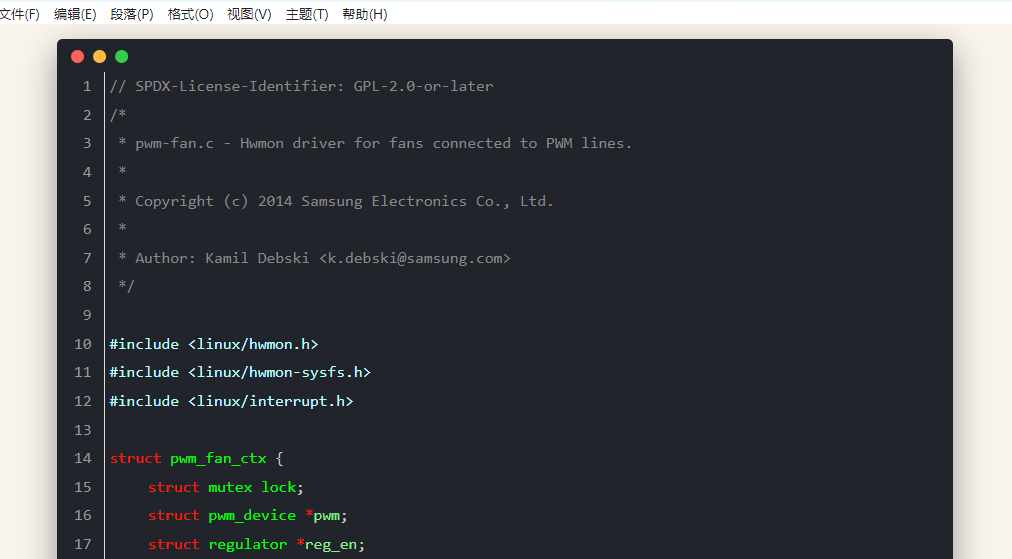
Typora
typora修改点
— 整体改动不大,主要是在原生的Techo主题上做了一点修改;可以参考我的进行修改:
-
typora 使用 Techo主题
-
打开主题css文件:文件 ==》偏好 ==》 外观 ==》 打开主题文件夹 ==》Techo.css(其他)
-
修改为mac风格的代码块(mac三点=醋)和字体
1
2
3
4
5
6
7
8
9
10
11
12
13
14
15
16
17
18
19
20
21
22
23
24
//将对应的md-fences替换如下即可
#write .md-fences {
color: #c5c8c6;
background-color: #21252b; //代码块的背景颜色
border-radius: 10px; //代码块圆弧半径
box-shadow: 0 10px 30px 0 rgb(0 0 0 / 40%);
padding-top: 30px; //代码块上方区域间隔
padding-bottom: 20px; //代码块下方区域间隔
font-family: Consolas, 'Courier New', monospace; //代码字体格式
}
//mac 红黄绿三点
#write .md-fences::before {
background: #fc625d;
border-radius: 50%;
box-shadow: 20px 0 #fdbc40, 40px 0 #35cd4b;
content: ' ';
height: 12px;
left: 12px;
margin-top: -20px;
position: absolute;
width: 12px;
} -
修改代码块的字体颜色
— Techo格式按如上修改后会导致字体被黑色背景覆盖,需修改字体颜色从而适应背景代码如下1
2
3
4
5
6
7
8
9
10
11
12
13
14
15
16
17
18
19
20
21
22
23
24
25
26
27
28
29
30
31
32
33
34
35
36
37
38
39
40
41
42
43
44
45
46
47
48
49
50
51
52
53
54
55
56
57
58
59
60
61
62
63
64
65
66
67
68
69
70
71
72
73
74
75
76
77
78
79
80
81
82
83
84
85
86
87
88
89
90
91
92
93
94
95
96
97
98
99
100
101
102//在Techo.css 目录下新建base.user.css文件或者直接使用该文件
//复制以下代码
.CodeMirror-line .cm-number{color:#7f6bff} /*数字,蓝色*/
.CodeMirror-line .cm-property {
color: #f08d49;
}
.CodeMirror-line .cm-variable-3{color:#ffed6b} /*返回值、变量类型,int、void等,淡黄色*/
.CodeMirror-line .cm-qualifier{color:#888}
.CodeMirror-line .cm-variable-2 {
color: #888;
}
.CodeMirror-line .cm-meta{ color:#BBFFFF} /* 头文件、宏定义一整行 青色*/
.CodeMirror-line .cm-atom { color:#f9ff00} /* true、false 黄色*/
.CodeMirror-line .cm-keyword{ color: #ff1800;} /* if、return等关键字红色*/
.CodeMirror-line .cm-def{ color:#00ff00 } /* 函数定义,绿色 */
.CodeMirror-line .cm-variable { color: #90EE90; } /* 入参定义,亮绿色 */
.CodeMirror-line .cm-builtin {
color: #82AAFF;
}/* 蓝色 */
.CodeMirror-line .cm-comment {
color: #888;
} /* 灰色 */
.CodeMirror-line .cm-string{ color: #82AAFF } /* 字符串, 蓝色*/
.CodeMirror-line .cm-string-2 { color: #888 }
.CodeMirror-line .cm-operator {color: #ff1800}/* +=等操作符,红色*/
.CodeMirror div.CodeMirror-cursor {
border-left: 1px solid #fff;
z-index: 3;
}
.CodeMirror-selected,
.CodeMirror-selectedtext {
background: #666 !important;
}
.CodeMirror-line .cm-tag{
color: #F07178;
}
.CodeMirror-line .cm-bracket{
color: #FFF;
}
.CodeMirror-line .cm-attribute{
color: #FFCB6B;
}
.sidebar-content {
counter-reset: h1
}
.outline-h1 {
counter-reset: h2
}
.outline-h2 {
counter-reset: h3
}
.outline-h3 {
counter-reset: h4
}
.outline-h4 {
counter-reset: h5
}
.outline-h5 {
counter-reset: h6
}
.outline-h1>.outline-item>.outline-label:before {
counter-increment: h1;
content: counter(h1) " "
}
.outline-h2>.outline-item>.outline-label:before {
counter-increment: h2;
content: counter(h1) "."counter(h2) " "
}
.outline-h3>.outline-item>.outline-label:before {
counter-increment: h3;
content: counter(h1) "."counter(h2) "."counter(h3) " "
}
.outline-h4>.outline-item>.outline-label:before {
counter-increment: h4;
content: counter(h1) "."counter(h2) "."counter(h3) "."counter(h4) " "
}
.outline-h5>.outline-item>.outline-label:before {
counter-increment: h5;
content: counter(h1) "."counter(h2) "."counter(h3) "."counter(h4) "."counter(h5) " "
}
.outline-h6>.outline-item>.outline-label:before {
counter-increment: h6;
content: counter(h1) "."counter(h2) "."counter(h3) "."counter(h4) "."counter(h5) "."counter(h6) " "
}重启Typora查看效果
typora文字高亮在hexo渲染不生效
- typora 高亮语法是==高亮==,与传统的markdown不一致,导致hexo渲染时不生效
- 解决方法:
- 使用< mark>高亮 < mark>传统语法,在typora和hexo中均可正常渲染;注意去掉<>内部空格,为正常显示而加的
typora空格/首行缩进在hexo中渲染问题
- markdowm会自动限定格式,使用Tab、空格的方式缩进在hexo渲染时只显示一小部分缩进
- 使用" & emsp;"在markdowm中代替缩进即可;注意:需去掉中间空格
typora在hexo中标题、标签等设置
-
在md文章开头添加:
1
2
3
4
5
6
---
title: title_name
date: 2023-10-17 13:51:33
description: Descriptive_sentences
tags: [Typora,Hexo]
--- -
tags多标签格式需注意下
HEXO
HEXO代码块字体修改
— Fluid主题不支持自定义代码块字体颜色,但可以使用自定义css
-
在_config.fluid.yml文件中添加自定义css
1
2
3
custom_css:
- /css/macpanel #添加mac分格的代码块
- /css/style #添加自定义的css1
2
3
4
5
6
7
- 在\themes\fluid\source\css中添加如style.styl文件(注意:fluid主题的css后缀是styl)
```css
.markdown-body pre code {
color: rgb(152 245 255);
} -
重新部署hexo即可
HEXO && Fluid版本升级
-
HEXO 版本升级
1
2
3
4
5
6
7
8
9
10
11
12
13
14
15
16
17
18
19
20
21
22
23# 查看当前版本,判断是否需要升级
hexo version
# 全局升级hexo-cli
npm i hexo-cli -g
# 安装npm-check,若已安装可以跳过
npm install -g npm-check
# 安装npm-upgrade,若已安装可以跳过
npm install -g npm-upgrade
# 更新package.json
npm-upgrade
# 更新全局插件
npm update -g
# 更新系统插件
npm update --save
# 查看版本
hexo version -
Fluid主题更新
1
npm update --save hexo-theme-fluid
HEXO渲染pdf文件
-
在hexo/source下新建pdf文档
-
在该pdf目录下添加pdf文件
-
在md中添加相对路径
1
{%pdf /pdf/byte-of-python-chinese-edition.pdf%}
HEXO-Fluid折叠块功能
1 | |
HEXO整体迁移至另一台电脑
-
准备好Git环境个人推荐多台电脑使用同一份Git Key
-
拷贝HEXO这个目录至目标主机
-
删去hexo目录下的node_modules文件夹
-
重新安装环境
1
2
3
4
5
6
7
8
9
10# 安装hexo
npm install hexo-cli -g
# 在新的hexo目录下重新安装依赖
npm install
# 安装hexo的git工具
npm install hexo-deployer-git --save
# 重新部署即可
typora语法、主题魔改及hexo渲染时注意事项
https://mmoyu.github.io/2023/10/17/typora语法、主题魔改及hexo渲染时注意事项/